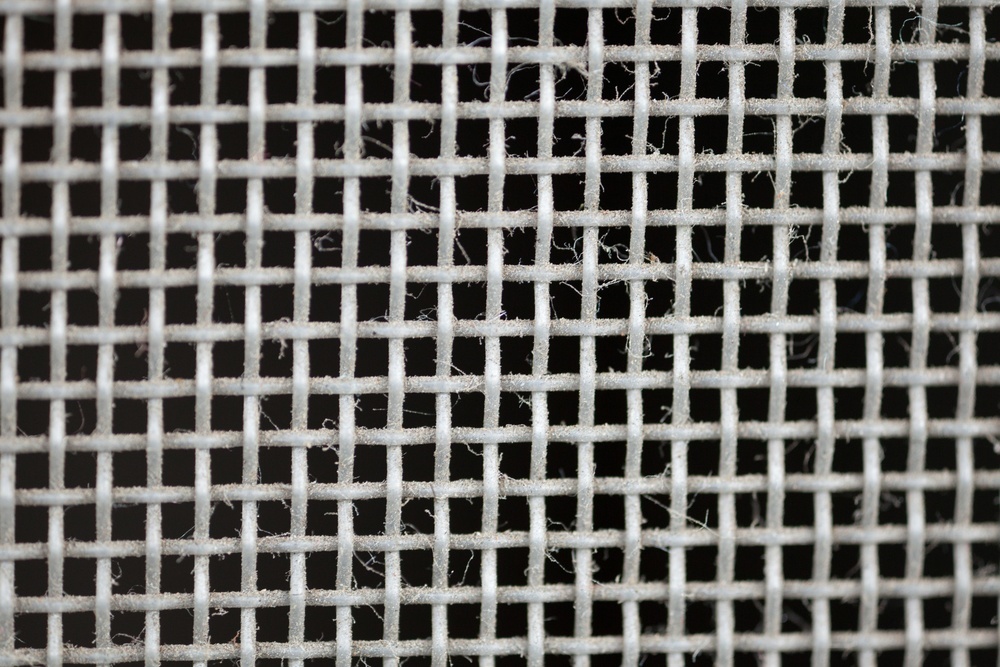
 Now that winter is over, it’s time to start opening those vinyl replacement windows to let some fresh air in. Washing your windows may be part of your spring cleaning routine, but while you’re cleaning the panes of your windows, don’t forget about your window’s screens. Now that your windows are going to be open a lot more, the last thing you’ll want is to be looking at are dirty or damaged screens. If you’ve left the screens on your windows all winter long or didn’t clean your screens after you took them down last year, now would be a very good time to clean them and keep them and make sure they’re still in good shape.
To clean your screens, start by removing them from the window if they haven’t already been removed. If your vacuum cleaner has a soft brush attachment, it can be a very helpful tool to get rid of a lot of the dirt that has accumulated on your window’s screens. Just be very careful to not put too much pressure on the window screen or you could damage it.
If your window screens are particularly dirty, you might need to take them outside so they can be more thoroughly cleaned. All you need to make those window screens look as good as new again is some dish soap and water, although some people like to use white vinegar instead of dish soap. Before you start cleaning with your screens, you might want to spray them with a hose to get rid of loose dirt and to make the screens easier to clean. Use a soft cloth or a sponge to gently apply your soap and water or soap and vinegar cleaning solution. Once you’re done, rinse the screens off with your garden hose. If your screens are extremely dirty, you may need to use something like a toothbrush to make sure you get all the dirt.
Once your window screens are clean, place them in an area where they can be propped up to dry without being damaged, like in a basement, garage, or an out-of-the-way spot outside your home.
Window screens can be rather delicate, so it’s very common for them to be damaged while in use, while being cleaned, or if they were mishandled while in storage. If this happens, don’t worry -- you probably won’t have to buy a completely new screen. For small tears, you should be able to get a screen repair kit from your local hardware store. With a larger hole or tear, you might want to try getting a piece of mesh just slightly larger than the hole/tear and using a fast-drying glue to attach it to the screen.
If a screen has been badly damaged or torn, but the frame itself is still fine, you could simply get some new screening material and replace the screen for just a few dollars. All you need to do is get some new screening material, some spline (the plastic cording that holds the screening material in place), a rolling tool for the spline, and some scissors or a utility knife. First, remove the existing spline and screening material and cut your new screening material to a size large enough to fit the window, plus a couple of extra inches on all sides. Lay the new screen over the frame so that the screen overlaps with the frame a little bit. Pull the screening material taut (you may need to use clamps or have someone else hold the screen for you to do this) and start applying the new spline, using the spline rolling tool to push it into the channel around the frame. Once you’ve done that, use your scissors or utility knife to trim the excess screen around the edges and you’ll be all set!
