
 Cupboards are a major focal point of any kitchen, so if they’re starting to look dated or worn out, they can really drag down the appearance of the rest of the room. But completely replacing cupboards with new ones isn’t always an affordable option. In full-kitchen renovations, new cupboards alone cost an average of 30% of the entire project’s budget.
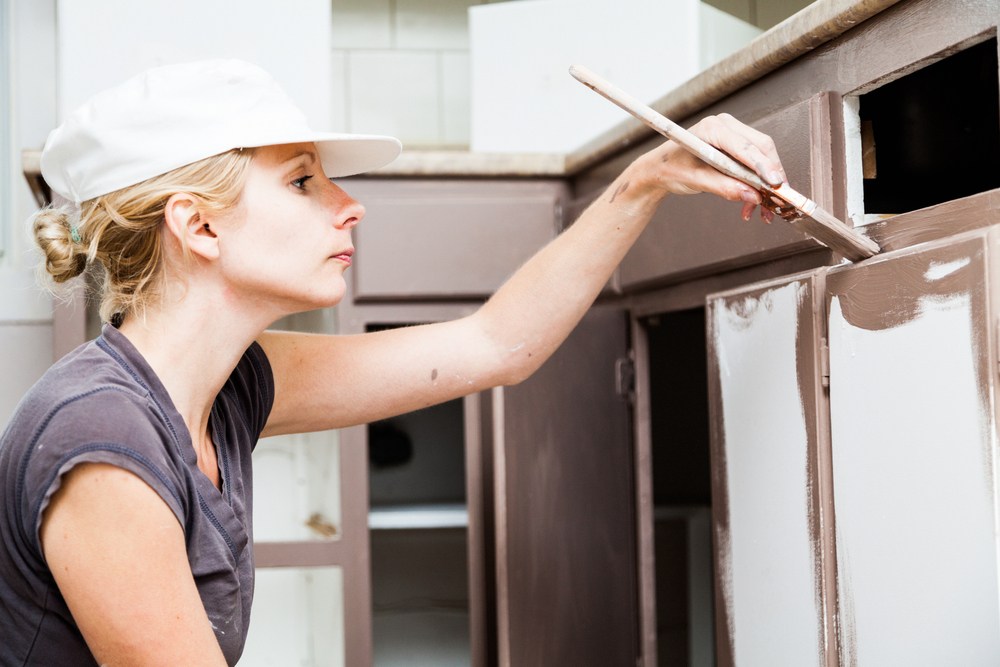
Rather than spending thousands of dollars on brand new cupboards, many homeowners prefer to revamp the ones they already have and one of the most popular ways to do so is by painting them. Although painting your cupboards may seem like an easy project in theory, many people have learned the hard way that it’s not quite as simple as it sounds. Before you grab a paintbrush and get to work, here are a few tips to make the process as easy as possible.
Give Yourself Plenty of Time
First and foremost, be sure you have plenty of time to do the job properly. Painting your cupboards is a more time-consuming project than many people realize, so it’s not the sort of thing you’ll want to start doing if you’d need to have it done within a couple of days. The exact amount of time it will take depends on how many cupboards you have and how much time you have to dedicate to the project, but with all steps considered, it can easily take anywhere from a week to several weeks.
Don’t Skip the Prep Work
As tempting as it may be to skip the prep work and get right to painting, prep work is extremely important when it comes to painting kitchen cabinets. Cabinets can easily accumulate a layer of grease and oils from being near the stove and if you don’t clean your cabinets before painting them, that grease will make it impossible for paint to dry properly. Don’t just clean the cabinet doors, either, be sure to get the frames of the cabinets, too. For the best possible finish, fill in any nicks and dents your cupboards have and sand down all the surfaces you’ll be painting, then use a vacuum and a tack cloth to remove debris from the surfaces. Lastly, don’t forget to prime your surfaces before you start painting. All these steps may seem like a hassle, but they will pay off in the end.
Label Everything
Removing your cupboards for painting will make your job a lot easier, but as you do so, don’t forget to keep track of where everything originally came from. Label each door, where each door came from, and keeping the hardware for each door in a labeled bag. Once you’re done painting, the last thing you’ll want is to be stuck trying to guess where everything was in the first place.
Choose the Right Paint
Matte finish paints may be less expensive than glossier finishes, but when it comes to cabinets, spending a little more for a satin, gloss, or semigloss paint is worth it. The glossier the paint finish, the more durable it is and the easier it is to clean, which are exactly what you need in a room like a kitchen.
Don’t Rush to Hang Them Up
Once your cupboards have been painted, it’s totally understandable that you’d be very eager to get your cabinets hung back up again. But make sure to give your cupboards plenty of time to fully dry, at least a day or two, before you try putting them back. Even if they seem dry, they might not be completely dry yet and if you’re in a hurry to put them up, your paint job could get messed up and you might have to repaint that cabinet all over again.
